Need a Chain Drive Differential?
I am now able to offer chain drive differential conversions and components
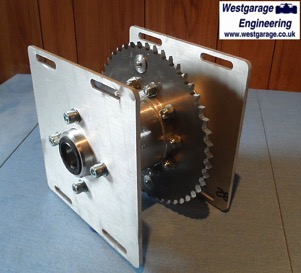
Bearing blocks
Sealed bearings
Alloy end plates
Alloy Sprockets
New & second hand differentials
Custom drive shafts and CV joints
Electric reversing systems
See my business web sites at:
www.chaindrivediff.co.uk or
www.westgarage.co.uk
Lots of racing cars, Formula Student (FSAE), sports cars and kit cars are now featuring motorbike engines driving via a chain to a differential or LSD.
Chain drive differentials are also put to good use in bike powered trikes and off road buggies as well as some electric powered vehicles.
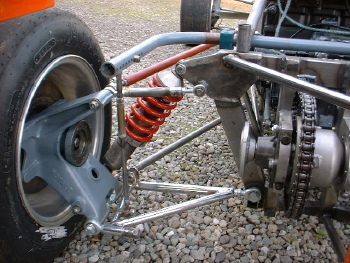
My first chain drive unit (Mini based) fitted to my Kawasaki powered Hawke race car (in 2003)
Most front wheel drive car differentials can be converted to chain drive, as can a few rear wheel drive car differentials.
Here is a list of a few differentials which have been successfully converted to chain drive:
BMC/BL Mini (standard ‘open’ differential)
Quaife Mini QDF14K ATB LSD
Quaife Mini QDF36K ATB LSD
MiniSpares twin cross-pin open differential
MiniSpares EVO plate & ramp LSD
Tran-X Mini Mk6 plate & ramp LSD
Tran-X Ford IB5 Fiesta/Escort plate & ramp LSD
Ford Fiesta/Escort (standard ‘open’ differential)
Ford Fiesta RS/Escort RS Turbo viscous coupled LSD
Quaife IB5 Ford Fiesta/Escort ATB LSD
Quaife Ford Focus RS ATB LSD
Vauxhall/Opel Corsa
VW Golf (standard ‘open’ differential)
Quaife 020 Golf Mk2 ATB LSD
Ford Sierra 7” & 7.5” viscous coupled LSD
BMW M3 plate & ramp LSD
Mazda MX5 Mk1 viscous coupled LSD
Mazda MX5 Torsen Type1 LSD
Honda Civic (standard ‘open’ differential)
Honda Civic/Integra EK9/DC2 TypeR helical geared ATB LSD
Ford ‘English’ plate & ramp LSD
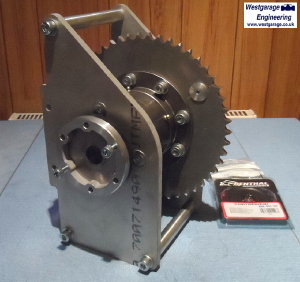
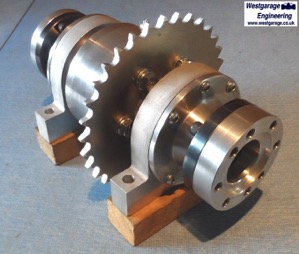
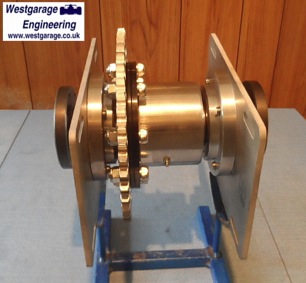
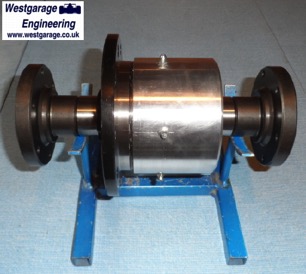
Most conversions consist of replacing the crown wheel with a sprocket, fitting an oil retaining can, plugging a few holes, fitting a pair of sealed bearings with aluminium alloy bearing carriers and output shaft oil seals.
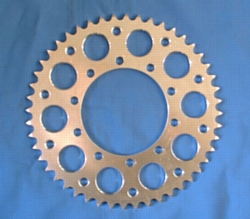
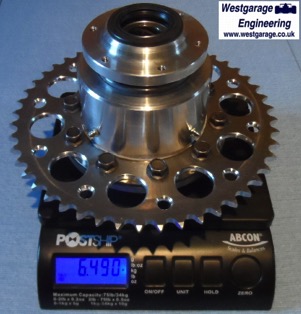
Fully lightened custom rear sprocket
Normally the standard inner CV joints can be used with the chain drive differentials although sometimes it is necessary to manufacture special flanged output shafts to suit bolt-on CV joints such as the 94mm OD or 100mm OD Lobro joints commonly used on aftermarket drive shafts.
A range of length of driveshafts to suit 100mm OD Ford Lobro CV joints are available.
If different CV joints are required on either end of the shafts or non-standard length are required then hybrid one piece shafts can be manufactured.
It is possible to cut, sleeve and weld drive shafts (but is not recommended as they are prone to break).
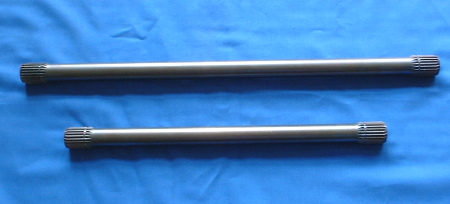
Typical custom drive shafts
To mount the chain drive differential to your chassis a mounting cradle is desirable so that chain tensioning can easily be made.
These cradles can be a simple pair of plates with sliding mounts or can be a pivot type mount or a more elaborate mount with eccentric adjusters.
If a reverse system is required there are a couple of options.
- An electric reverse which can drive a gear attached along side the differential sprocket or the gearbox sprocket
Currently the best electric reverse system is the Lynx-AE unit which drives a gear attached to the gearbox sprocket.
- A mechanical reverse box such as the Elite reversing box fitted as a jack-shaft arrangement between the gearbox and the differential.
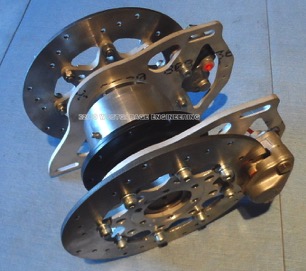
Inboard brakes can also be attached to the chain drive differential units.
Either a single disc rotor attached to the differential housing or a pair of disc rotors fitted to the output shafts of the differential.
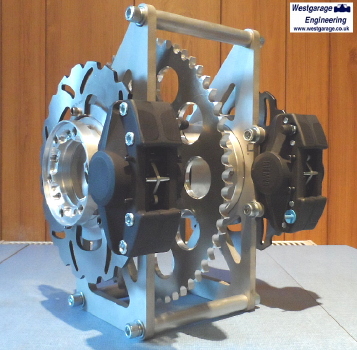
Pivot mount with twin 240mm disc rotors and Brembo 38mm twin pot calipers
Some more pictures of my chain drive units:
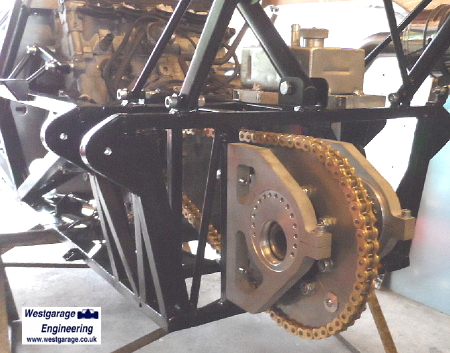
A bulkhead mounted chain drive unit with eccentric adjusters fitted to an OMS Hillclimb & Sprint single seater.
A pivot type carrier fitted to a Quaife QDF7ZR Ford Fiesta/Escort ATB LSD with special output shafts.
A sliding plate carrier
Mini based chain drive unit with bulkhead type mount.
Another Mini based unit for installation into a Berkeley car.
Honda TypeR ATB unit for an FSAE car
TypeR FSAE unit with twin disc rotors and calipers
IB5PR Plate & Ramp LSD in sliding plate carrier

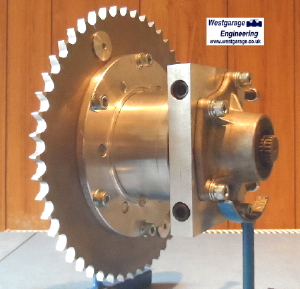
WGATB Automatic Torque Biassing LSD
WGATB with EN24T output shafts for 100mm OD Lobro type2 bolt-on CV joints